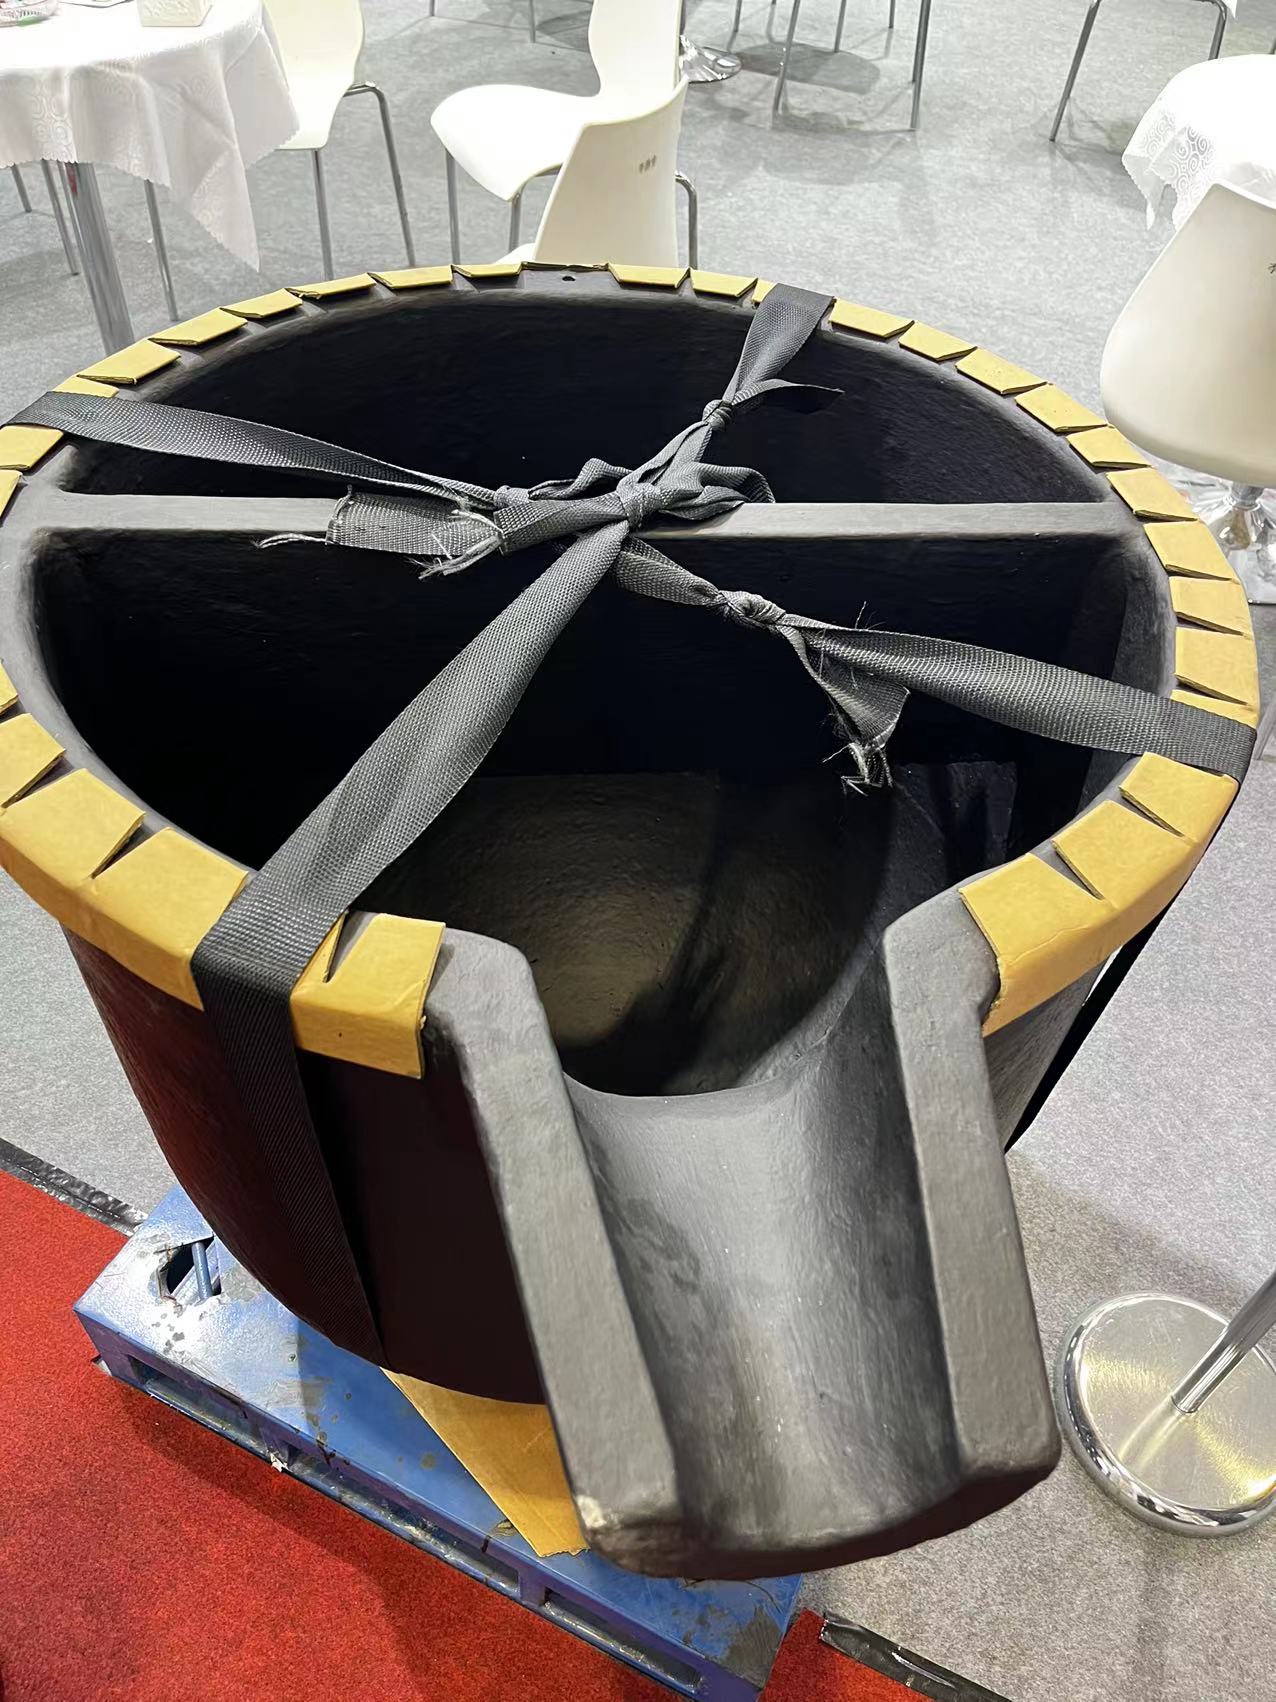
Creating a metal melting crucible is an essential skill for hobbyists, artists, and DIY metalworkers looking to venture into the realm of metal casting and forging. A crucible is a container specifically designed to melt and hold metals at high temperatures. Crafting your own crucible offers not only a sense of accomplishment but also the flexibility to tailor the crucible to your specific needs. This guide provides step-by-step instructions on how to make a durable and efficient metal melting crucible, incorporating various keywords for readability and SEO optimization.
Materials and Tools Required
- Refractory Material: High-temperature resistant materials such as fire clay, graphite, or silicon carbide.
- Binding Agent: To hold the refractory material together; sodium silicate is a common choice.
- Mold: Depending on the desired shape and size of your crucible.
- Mixing Container: For combining the refractory material and binding agent.
- Safety Gear: Gloves, goggles, and a dust mask for personal protection.
Step 1: Designing Your Crucible
Before you start, decide on the size and shape of the crucible based on the types of metals you plan to melt and the volume of metal. Remember, the crucible must fit inside your furnace or foundry with enough space around it for airflow.
Step 2: Preparing the Refractory Mix
Combine your refractory material with the binding agent in the mixing container. Follow the manufacturer's recommendations for the correct ratios. Mix thoroughly until you achieve a homogenous, moldable consistency. If the mixture is too dry, add a little water; however, keep in mind that the mix should not be too wet.
Step 3: Molding the Crucible
Fill your chosen mold with the refractory mix. Press the mixture firmly to ensure there are no air pockets or gaps. The base and walls need to be compact and uniform to withstand the thermal stress of melting metals.
Step 4: Drying and Curing
Allow the crucible to air dry for 24-48 hours, depending on the size and thickness. Once the outer surface feels dry to the touch, carefully remove the crucible from the mold. Cure the crucible by firing it in a kiln or your furnace at a low temperature to slowly drive out any remaining moisture. This step is crucial to prevent cracking when the crucible is used at high temperatures.
Step 5: Firing the Crucible
Gradually increase the temperature to the recommended firing temperature for your refractory material. This process can take several hours and is essential for achieving the final strength and thermal resistance of the crucible.
Step 6: Inspecting and Finishing Touches
After cooling, inspect your crucible for any cracks or flaws. A well-made crucible should have a smooth, uniform surface without any defects. You may sand or smooth out minor imperfections, but any large cracks or gaps indicate that the crucible may not be safe for use.
Safety Considerations
Working with high-temperature materials and equipment poses significant risks. Always wear appropriate safety gear and follow safety guidelines closely. Ensure your workspace is well-ventilated and free from flammable materials.
Conclusion
Making a metal melting crucible from scratch is a rewarding project that provides invaluable experience in the basics of refractory materials and high-temperature tooling. By following these detailed steps and adhering to safety precautions, you can create a custom crucible that meets your specific metalworking needs. Whether you're a hobbyist looking to cast small metal pieces or an artist exploring the possibilities of metal sculpture, a homemade crucible is a crucial tool in your metal melting endeavors, empowering you to transform raw materials into creative and functional works of art.
Post time: Feb-22-2024
